Commercial Signage & Hand Painting In Melbourne
High-quality vehicle wraps, custom signage, and window and wall graphics that help businesses stand out and leave a lasting impression.
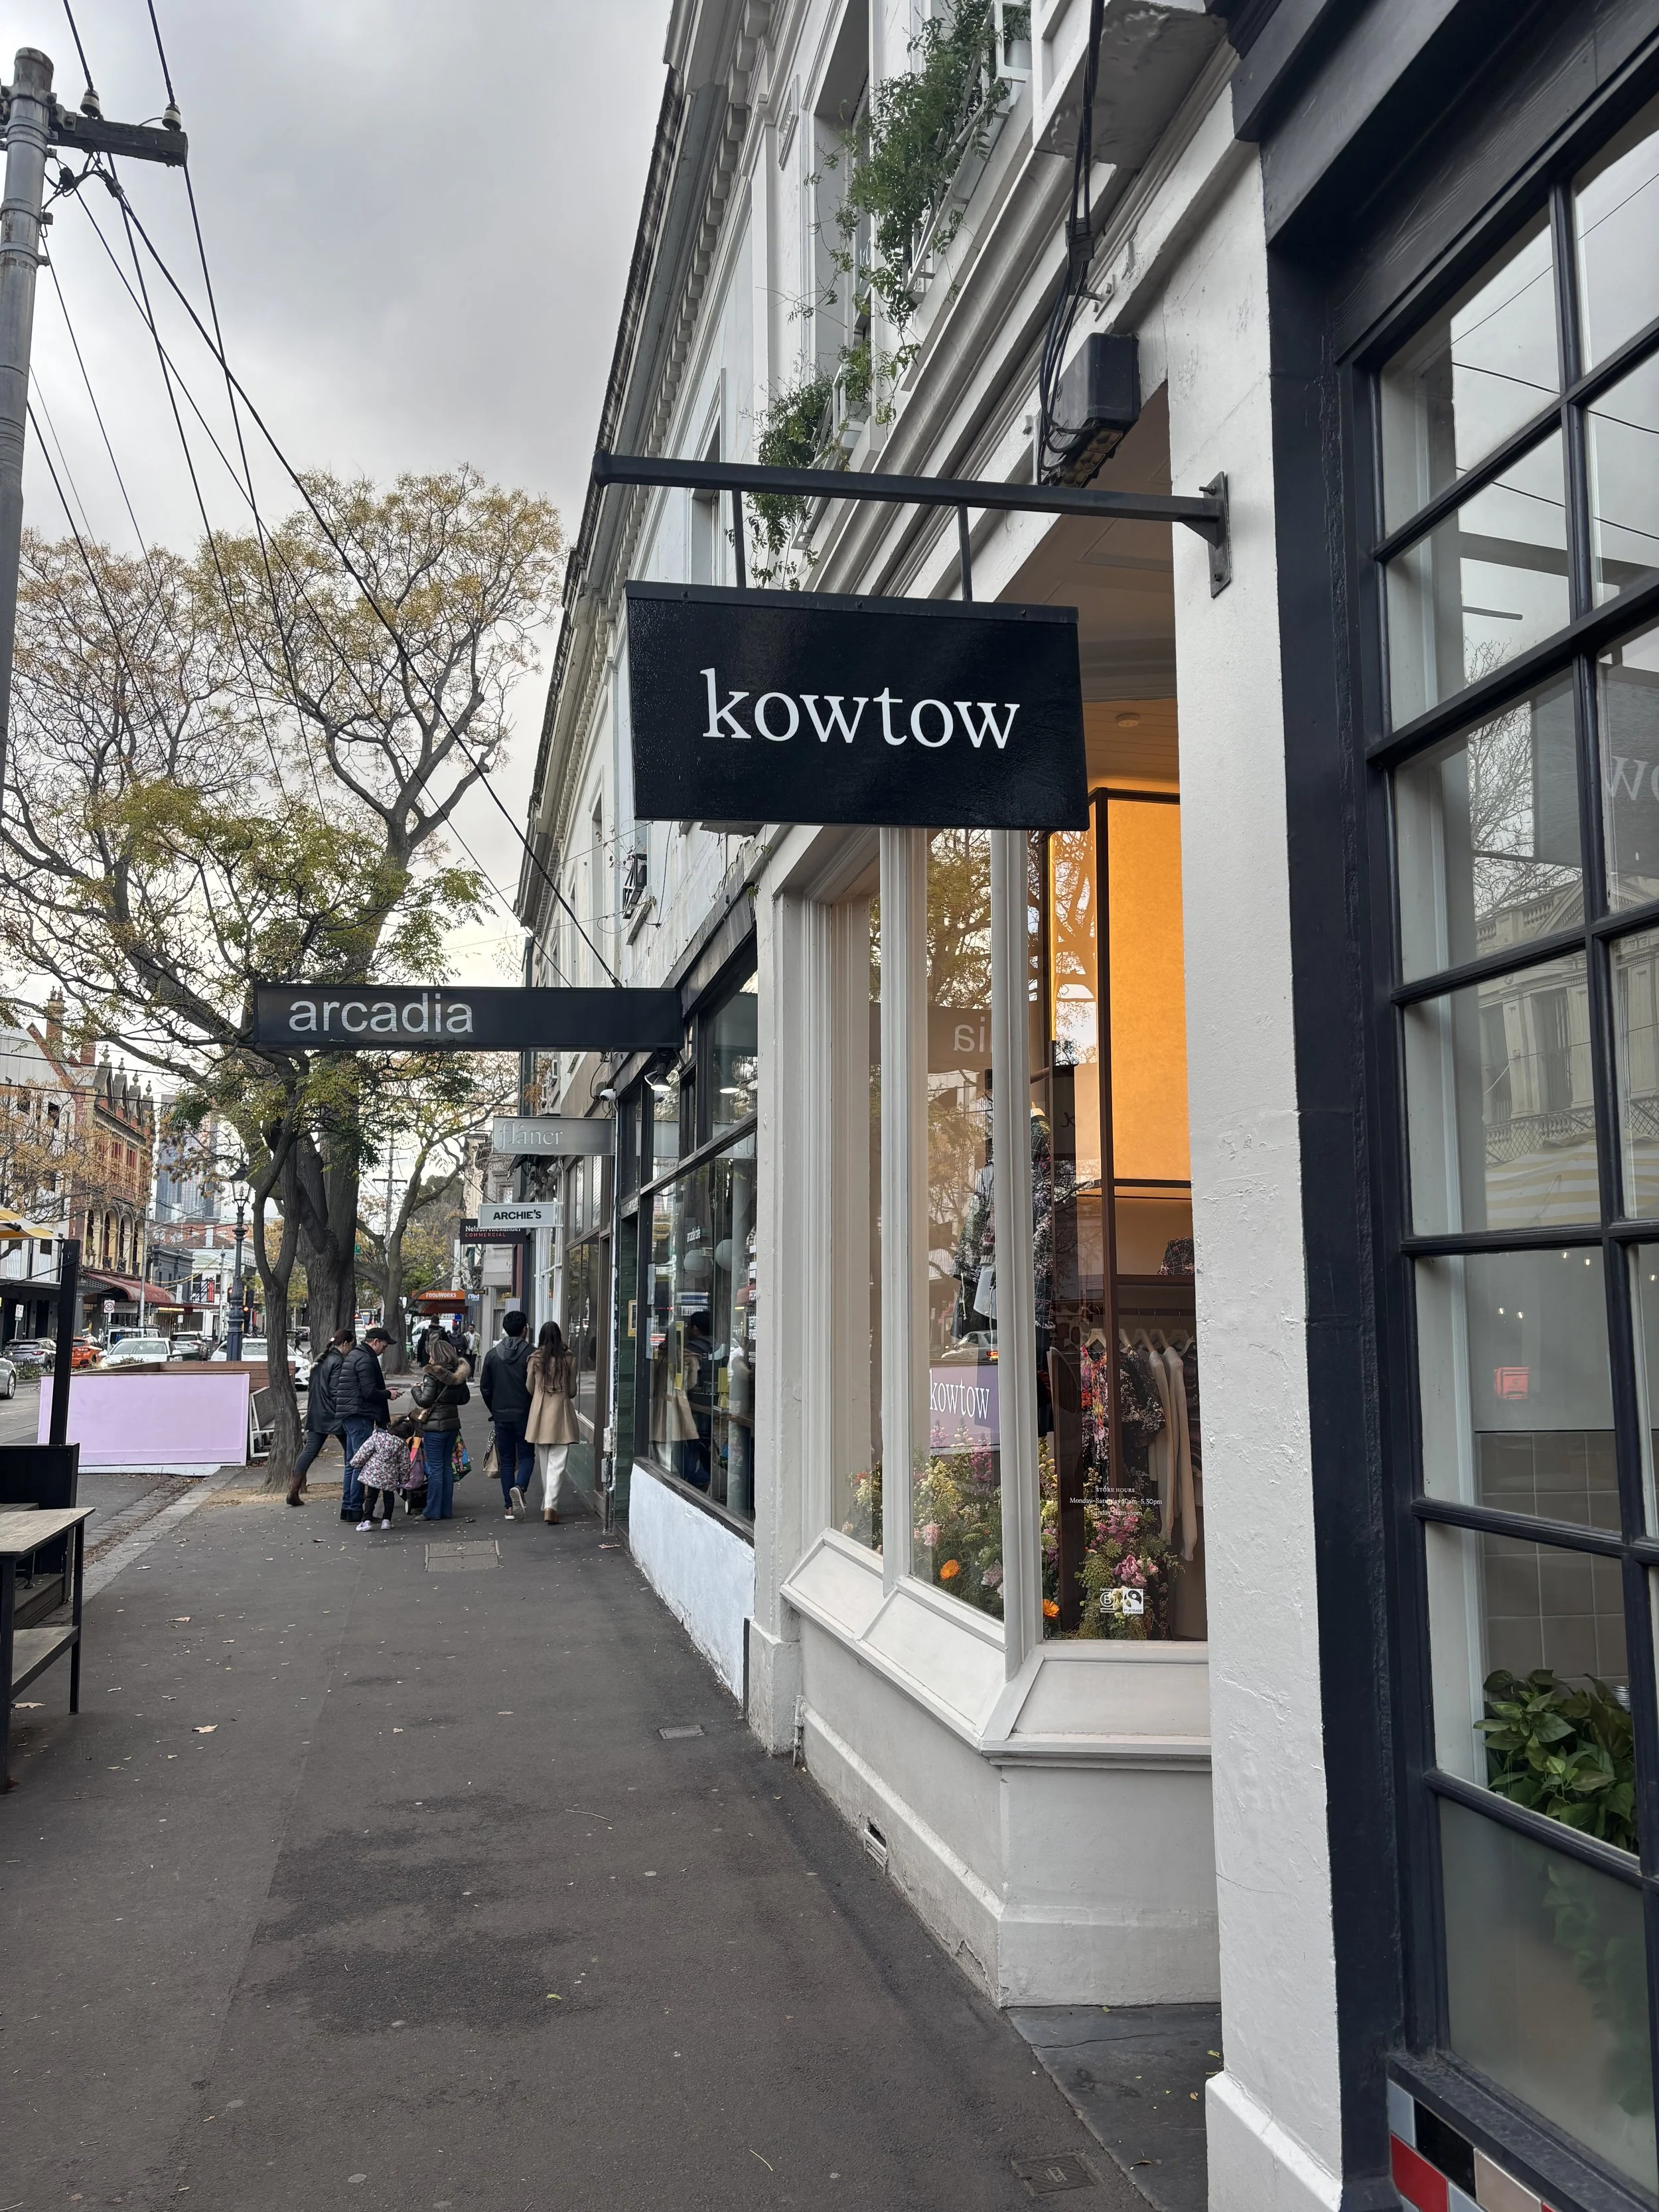
Handpainted Signs
Combine timeless artistry with personalised flair with handpainted artwork.
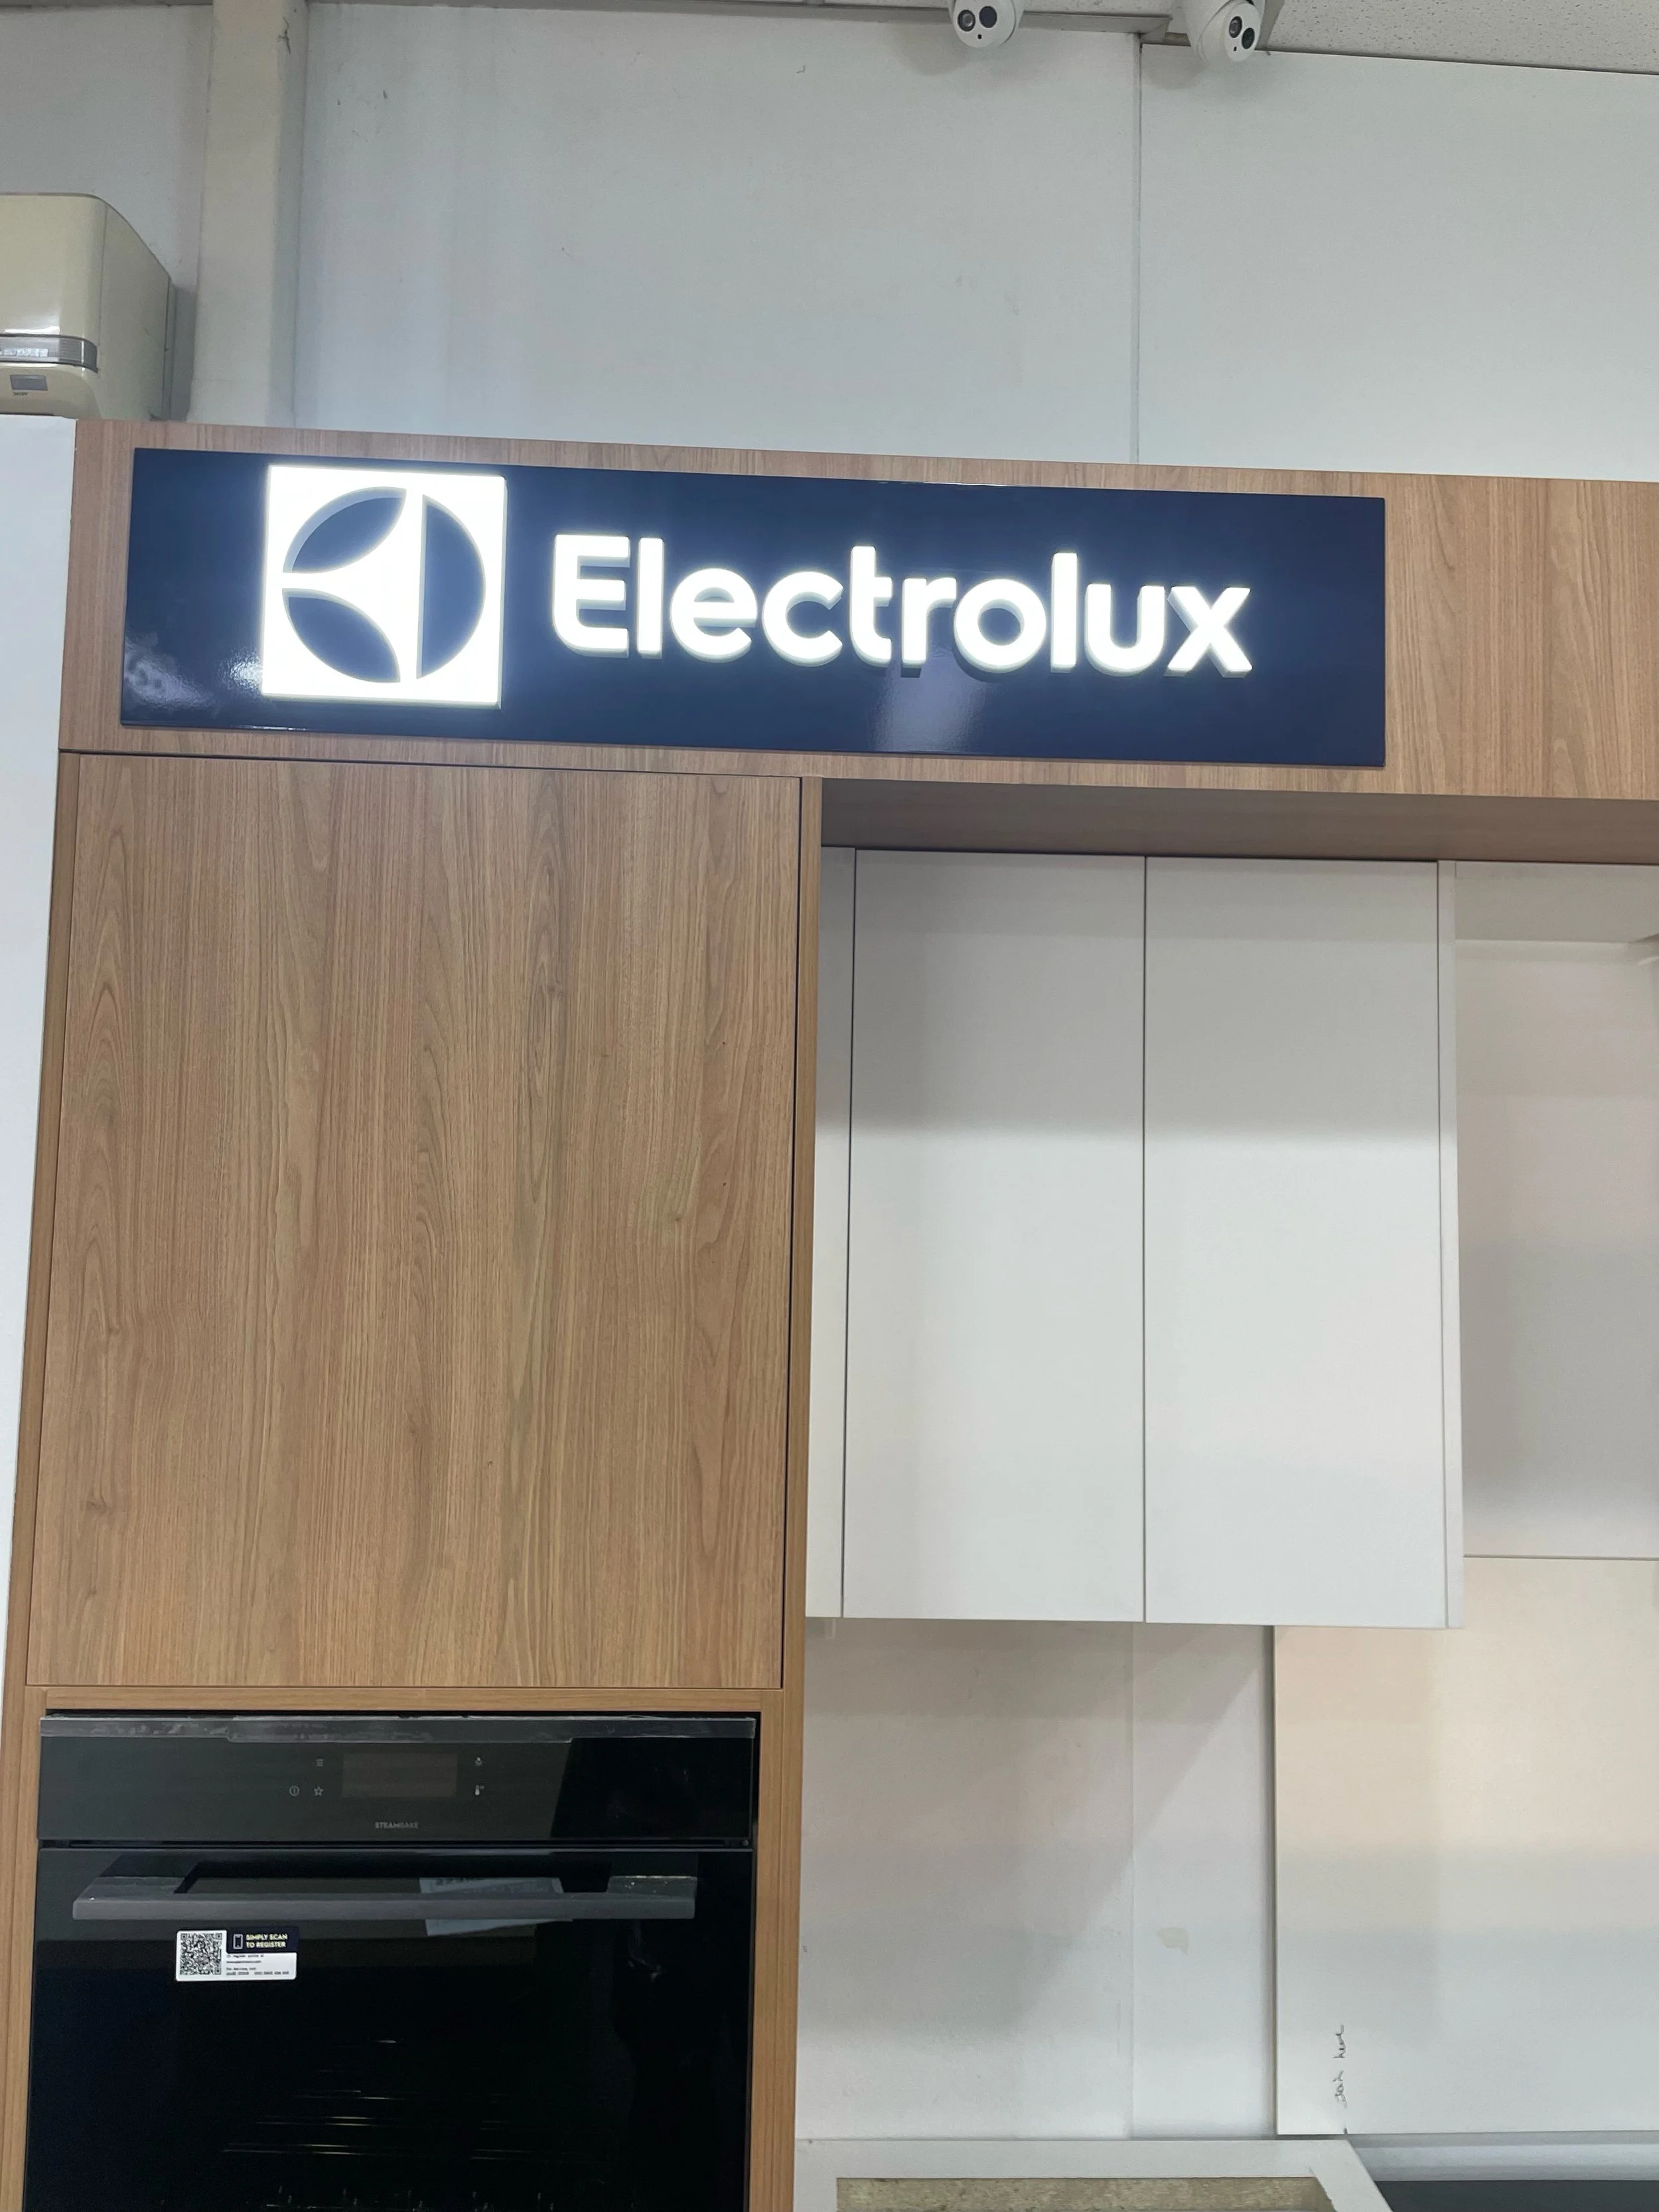
Acrylic & Illuminated Signs
Sleek and modern, acrylic signs offer a professional look for any business or event.
Window Graphics
Turn any glass surface into eye-catching advertising space or stylish decor.
Handpainted Signs
Add a unique, personal touch to your space with our handcrafted, handpainted signs. Each sign is meticulously created by talented artists, ensuring no two pieces are exactly alike.
Key Features:
Unmatched Uniqueness: Every sign is a one-of-a-kind piece, handpainted by skilled artists. No two signs are ever the same, giving your space or business a truly personal and authentic touch.
Custom Crafted to Your Vision: Handpainted signage is fully customisable with your choice of wording, design, and colors —making it easy to bring your message or brand personality to life.
Timeless, High-Quality Materials: Made with premium wood and professional paints, our handpainted signs are not only visually striking but built to last.
Acrylic Signs & Illuminated Signs
Sleek and modern, acrylic signs offer a professional look for any business or event. With clear or coloured finishes, precision-cut edges, and vibrant prints, these signs provide a stylish way to showcase your brand.
Key Features:
Bright, Eye-Catching Appeal: Built-in LED or neon lighting ensures your sign stands out, even after dark.
Fully Customizable: Choose shapes, sizes, colors, and lighting effects to match your brand or style.
Window Graphics
Easily transform your storefront, factory or office with custom window graphics. Perfect for branding, promotions, or privacy, these vibrant decals and films turn any glass surface into eye-catching advertising space or stylish decor.
Key Features:
High-Impact Visuals: Full colour printing and custom designs make your windows stand out to attract passing customers.
Versatile Applications: Options include promotional decals, frosted privacy film, business hours, logos, and seasonal displays.
Easy to Install & Remove: Designed for quick application and residue-free removal, so you can update your windows as often as you like.
GET IN TOUCH
Get started with a FREE quote!
Ready to boost your brand’s visibility? Contact us today for expert advice, fast quotes, and friendly service. We’ll help you find the perfect signage or vehicle wrap solution for your business.
9am–5pm


